Monday, February 17, 2014

Making Your Own Wax

In my last post, I went over some of the pros and cons of my favorite waxes.  Some smell far too strong, most have carcinogens, and the ones I really like are just far too expensive.  I come from a long line of thrifty women, so paying $34 for 10 oz. of Cece Caldwell's wax was really grating at me.  That's $3.40 per oz.  folks.  Fine chocolate is cheaper.  It was really cutting into my profit margin, too.  So, I started researching obsessively, 'cuz that's what I do.  I came across several things that were kind of helpful, but no recipes I could try as it.  I'm nothing if not picky.  I wanted all natural, or at least as close to that as possible, affordable, soft enough to apply with a brush, yet harden enough to buff to a soft sheen.  I looked up Cece caldwell's ingredients, did a little more research as to the purpose of each ingredient, and then just went for it.  I just started melting it together, keeping track of amounts, and adding more of this and that until I got what I wanted. Grating the beeswax block is the only part that was work.  I gave up on that and just start chunking it with a knife and that worked, too.  It was fun, and more importantly, it was a success.  For most of you occasional refinishers, this would be a bit much.  But if you go through as much wax as I do, have fun with my recipe!  Here's the breakdown of ingredients:
- 8 oz. beeswax                                   $6.75 etsy
- 16 oz. boiled linseed oil                   $4.00 home depot
- 8 oz. olive oil                                   $3.00 HEB
- 4 oz. carnauba wax                          $6.50 amazon
- 12 oz. D-limonene                           $7.92 amazon
- 30 drops lavender oil                       $2.00 health food store
___________________________________________________
48 oz. wax                                           $30.17       = $.63 an oz.

Sooooo much cheaper!  I gave you the price for the exact amount that I used, when in reality I ordered enough to make 2 batches for most ingredients, some many batches. 

Again, that's $3.40 per oz. vs. $.62 an oz.

How did it turn out?  Great!  Applies nicely with a brush, smells great.  I don't need to worry about fumes.  Works very similarly to Cece Caldwell's wax - by that I mean I apply it, let it soak in for a few seconds, and wipe it off.  It is ready to buff in about 5 minutes.  Dries harder than Annie Sloan.  The only thing I would change is ordering white beeswax instead of yellow - I just wasn't paying attention, didn't think it would matter, and maybe using plain vegetable oil instead of olive oil, just for color.  The end result would be a lighter colored wax.  I did try my wax on Old White, and it warms it up a tiny bit (like Minstead wax does), but I liked it just fine. It also works well with Annie Sloan dark wax. 

Here's a pic of how it turned out:
It filled two plastic paint tubs from Home Depot.  Good luck and let me know if you have any questions!

Monday, January 20, 2014

My Favorite Brands

Although there are tons of great tips and tutorials out there on the web, I get a lot of questions about technique, supplies and preferred brands, so I thought I'd take the time to share some of my favs with you!

 1.  Why do I wax instead of using poly?

In the world I live in, things get scratched.  Period.  I have tried all the conventional finishes, and with my three boys, things get scratched.  Life happens.  So, in my opinion, it's less about what won't scratch, and more about which scratched surface is easiest to repair.  With wax, most scratches buff right out with a cloth or fine steel wool.  If the paint underneath has been scratched, you can just take sandpaper and make a new distressed spot, and slap some new wax on it!  If it's in a bad location to do so, (Like the middle of the top), then call me and I can spot repair it. 

2.  What kind of clear wax do I use?

My favorite is Cece Caldwell:
 What's the big deal?  I used Annie Sloan for over half a year before calling it quits.  I just don't feel like it goes as far, or on as evenly. It doesn't sink into the paint as well.  By a long shot.  Even being vigilant I felt like it was still patchy.  With Annie Sloan, you have to wait 24 hours to buff; Cece Caldwell about 5 minutes.  Annie Sloan also smells stronger.  Cece Caldwell is all natural, or pretty darn close.  Because this is my business, I am working with chemicals all the time.  I don't want to work with something that causes cancer and/or requires a mask and gives me a headache.  The more natural, the better.  This smells like essential oils.   In general, I prefer a cream wax that I can apply with a brush instead of two fingers and a soft cloth, and these are both soft.  I ain't got time for that.   Cost: Annie Sloan $25
CeCe Caldwell $36
The only 2 things I don't like about CC wax - the price (!) and the availability.  My closest available store is in New Braunfels, and they are frequently out.  Honest to goodness I am going to experiment with making my own wax so maybe, maybe I won't be at the mercy of stockists...

 Other contenders:

Fiddes and Sons: What I like: Very soft, went on easily, buffed hard immediately.  Cost was $18 on amazon.  Cons: Doesn't go as far as CC wax, smells so strong I literally got light headed and sunk to my knees in the workshop today (the first time I've used it).  Should have worn a mask, but I couldn't find it at the moment. 

Minwax:
If you are only going to attempt one project ever and be done, get this one.  It's $10 and fool proof.  The only catch is that it is a harder wax, so you have to use a cloth or pad.  It would really slow me down.  But, I love the soft sheen and the hard finish.  Available at Home Depot.

Briwax - do not use!  Has Toulene in it, a carcinogen, which incidentally works as a paint stripper, ruining your project.

I have also heard to only use Annie Sloan wax on Annie Sloan Paint -this is what the stockists are taught and they are always a little taken aback that I would try anything else!  Plenty of waxes perform well on it!

3. What dark wax do I like?

Just to be contrary, I prefer Annie Sloan Dark wax over Cece Caldwell!  Both go on easily, in this case it is about tone.  I have both, but 19 times out of 20 I reach for Annie Sloan because it is cool toned.  The CC dark wax is so warm it almost has a pink tone to it.  Not noticeable over a red, but can really change the look on a blue. 


CC on left, AS on right:

 I also really like Miss Mustard Seed's Antiquing wax, but it is too expensive to use all the time.  I use it when I want to highlight the cracks, "alligatoring", and textures of a piece without darkening it too much.  I love the way it settles into cracks, and it smells so good you could just stuff it up your nose!  Smells like fresh lavendar.  Although expensive, the tiney 2 oz. jar was plenty to do a king sized headboard - making this one the winner for going the furthest!
4. What brushes do I use to wax?

I use Annie Sloan Paint brushes to apply wax with.  One is always used for clear, one for dark.  Very thick brushes make spreading the wax easy, and they are soft enough to reach up into nooks and crannies.  Would I buy these for one piece of furniture I was redoing?  No, I would use old paint brushes.
 5.  What paint brush do I use?

The Clear winner is the Wooster Shorty.  $5.  Rubber, bendy handle keeps my wrist from getting sore, which is a serious issue!  Before I started using this, even with nice Purdy brushes, my nerves would tingle on my hands after awhile.  I can reuse these babies for a long time and then not feel guilty when I forget to clean one and ruin it (like the one pictured!).  By the way, like my old kitchen table, aka work bench?

6.  How do I make my glazes?

Don't ever buy a store bought glaze, it is a waste of money!!  There is no need to measure, with this recipe, either, although the very idea makes some of you twitchy.  The basic ingredient is Floetrol, a latex paint extender.  This bottle runs about $6 and is available in any home improvement store.  Pour some into an empty container with a lid.  If you use around a cup you'll have plenty for at least 2 projects.  Then add your color - you can use brown or black paint, or any stain.  For the paint, pour in about a Tbsp at a time until it looks right - keep a sample board for testing.  For stains, pour in a teaspoon at a time.  I regularly mix stains, too.  For example, I made a big batch to do my kitchen cabinets with, about 2 cups of Floetrol and both Dark Walnut and Jacobean stains.  I wanted to make sure I had enough that I wouldn't have to make more.  I needn't have worried - it did my kitchen, a friend's entire kitchen, and I got enough back to use on several pieces.  I use glaze instead of dark wax when I want to see all the brush/wipe strokes.  


7.  What paint do I use?

Annie Sloan chalk paint.  Environmentally friendly, extremely low odor, goes on any surface - even on top of old wax!  I love the look of it and how easy it is to sand.  I have tried homemade recipes with some success, but they just don't behave the same when I am working with them.  I much prefer this.

Other contenders:

Cece caldwell chalk and clay paint:  I have used it, and I like it.  I just generally like Annie Sloan's pallette better.  I do really like the Smoky Mountain Blue and the Virginia Chestnut.  It is thinner than Annie Sloan's.

Miss Mustard Seed: Milk Paint.  Smells bad, not gonna lie.  This is a tricky review, because the milk paint is good for it's intended purpose - making things look authentically old, and chippy with the paint not adhering to some parts.  I have used it on a couple of pieces for the store that basically had no top coat on them and they did well.  They were smaller pieces, too.  I also used them for a set of four chairs for someone, and they all turned out different colors.  That was with one batch of paint that I stirred constantly and gave them 2 coats each.  I eventually had to give up and create a chalk paint color that matched and paint with that.  I used it on a 70's lacquered piece and used and bonding agent to help it adhere and it came right off anyway.  I put more bonding agent and repainted, and it stuch so hard I could barely sand through it to distress it.  I usually have clients who want a certain, specific look.  This paint is better if you are willing to just see what happens.  I don't plan on using it again.

Any questions?  I'll be glad to answer them in the comments!

Thanks!

Wednesday, November 13, 2013

Florence Headboard

Not only did the Provence Headboard sell (the light turquoise), but I got commissioned to make another one, and I took some pics of the process.  I think the hardest part for me is finding a large enough flat surface to work on.  My porch turned out to be the best place.
Here's the door in original condition.  Very old, at least 5 layers of lead paint.  Rough texture

Legs and supports are screwed it and holes filled.

Crown molding and top cap are on.  I borrowed a nail gun and air compressor.  Guess what's on my Christmas list now?

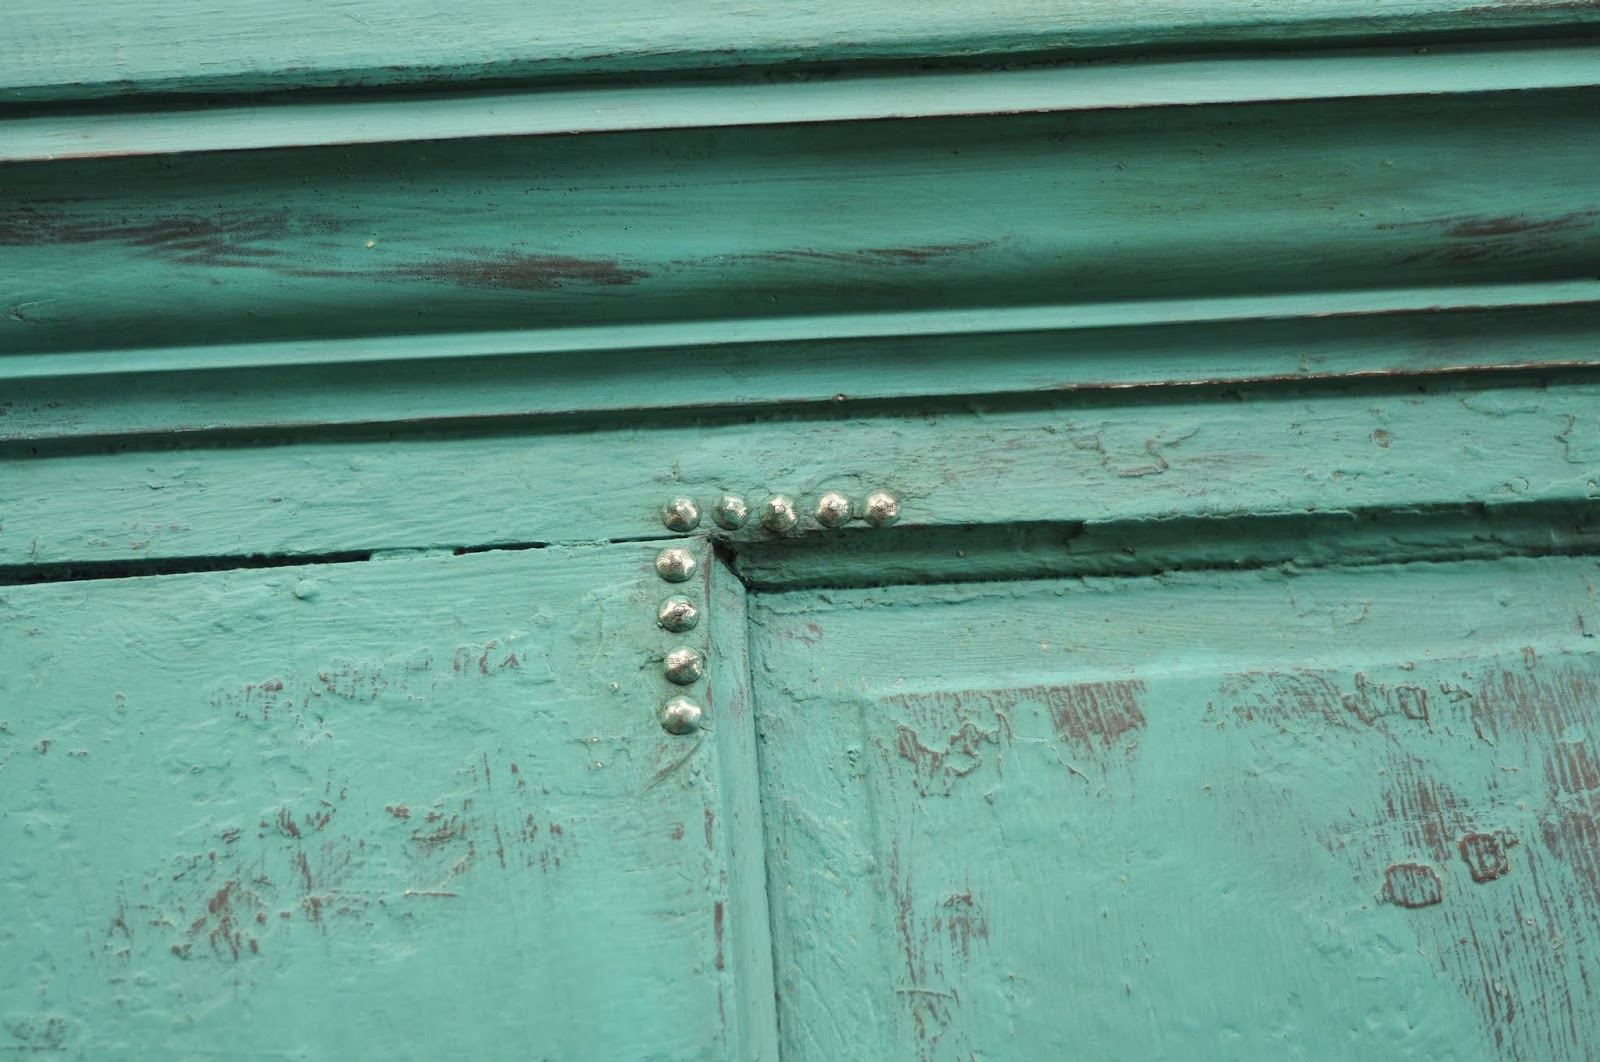
I decided to add a little nail head trim.  It's for a guy so I was going for a masculine look.

It was a light brown wash sponge painted over white when I got it.  I painted it a dark brown because that's what I wanted to peek through the Florence color.

Aren't the hinges so cool?  I wet distressed this time because I didn't want any original paint peeking through.


After distressing, I waxed with a dark wax.

This is the best final photo I could get.  The headboards are too heavy for me to move once I finish them and I can't get any farther away with my camera.


If you'd like a custom headboard, they are $450 plus tax and I am taking orders for the spring.  Advance notice is great because it can take awhile to track down a door in the right price range.  Just email me about what you'd like it to look like and when you'd like it by, and I'll put you on the schedule.  Before starting I'll get a supply deposit and get to work!

Friday, September 27, 2013

Sidewalk Sale!!

Tomorrow is the Sidewalk Sale at Homestead Handcrafts on Blanco!! 9-5, come early to get the best deals.  Here's what I will have there:


Tuesday, August 27, 2013

Tin Topped Farmhouse Table

    I'm writing this post mainly to dispel the possible idea of me knowing exactly what I'm doing, a serene vision of productivity.

     It all started with me and Stefanie, Crystal, and Debbie scavenging through Stefanie's barns. Stefanie and Debbie had fun for about 2 hours, then they were out. Crystal and I continued for quite awhile longer, and had such fun rummaging through decades of forgotten bits of farm life. I found a cool old piece of tin in a turkey barn loft and decided to make a table to fit under it.
 I had already run across Ana White's website (awesome!!) and I picked out a plan. Now, the plan was for a slightly bigger size, so I had to shrink it down.  This entailed such math skills that I could feel Mr. Kalich and Mrs. Krnavek shaking their heads at me.  Finally I got it figured out and built, but I was so nervous about the drawer I just did a false front.

halfway done:

my helpers:
 I had to run to Home Depot 3 different times for this project, each time with 3 urchins.

The bottom was supposed to look like this:
Farmhouse Bedside Table
I finally, after about 2 hours of trying to figure it out with various widths and combinations of wood (because I was NOT going back to Home Depot for one.more.thing), gave up and put slats on it.  Notice the two liquids on top.  One is vinegar and steel wool, one is black tea.  I figured that I would pickle and stain it before painting, since I was painting with milk paint, which don't adhere great and would flake off nicely in parts exposing the dark wood.  So I did.  And then I painted.  And the paint stuck.  I had to sand to distress, down to bare wood, so then I swiped the whole thing with a Minwax stain.  Good grief.  This project was now 5 days in the making.
And what are my children doing all this time?  Blake and Seth are pretty decent, but Cullen is trying to ruin us all at the moment, so that means he could not be unsupervised for one second.  So if I worked on it during the day, Cullen was right there playing on my phone, creating art like below, and serving me up a bevy of pretend food.  I cannot tell you how many pretend pizzas, muffins, brownies, and fish that workshop has seen.  All of which must be carefully eaten and enjoyed.  Which I gladly do.
The metal on top is easily twice as thick as what you would normally hammer on top, so I used liquid nails, and carpet tacks on the edges, and a ton of hammering the edges down!  I was incredibly sore the next day.  So to sum up, if I did the exact project again it would take me half the time.  I did learn a ton and I love the final product.  If I had room to put it anywhere, I probably wouldn't have sold it!

See those decorative vertical cuts on the front?  My awesome new saw did that.  I can adjust how far down the blade can go and make cool decorative cuts.  I'm in love.


Saturday, August 17, 2013

From Toy Chest to Conversation Piece

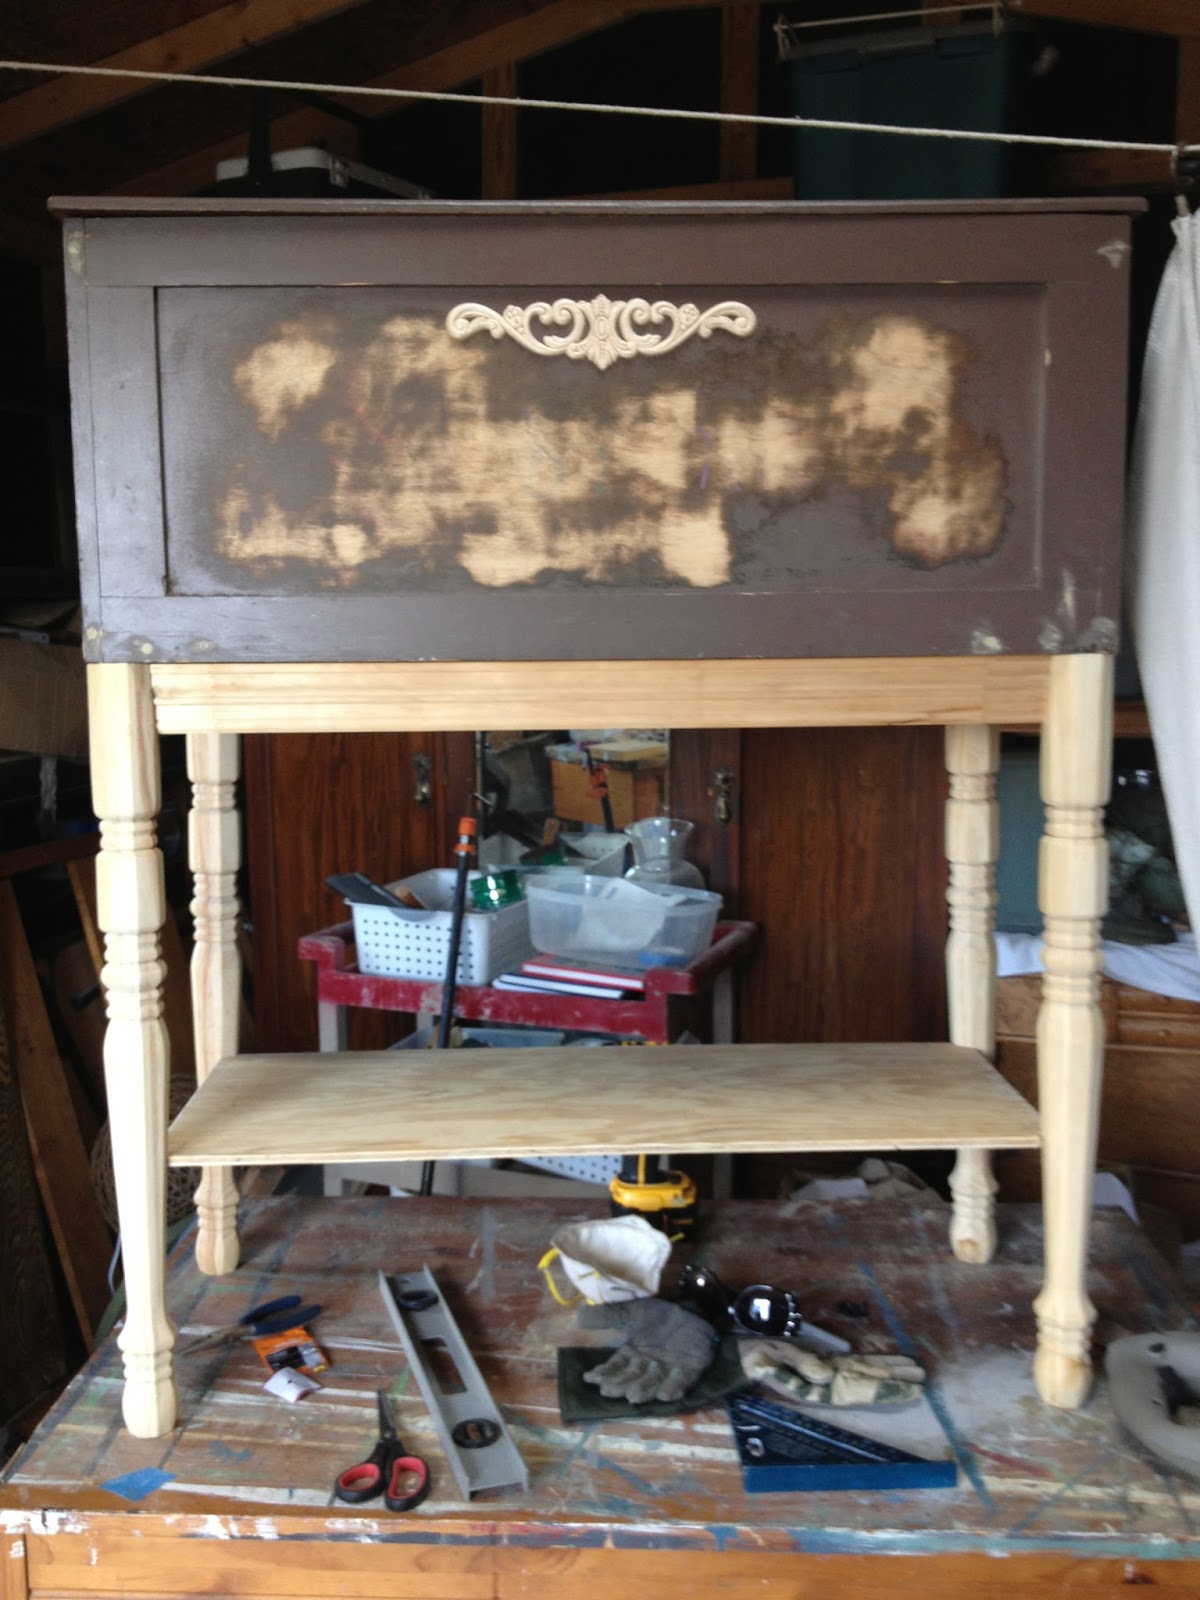
Someone from church just hired me to change the toy box they grew up with, a plain jane brown box on casters, into a conversation piece. I don't know what you would call it now, but it's cool. I glammed it up. She requested it to have legs, a shelf, and neutral colors. Here's the before:


Pretend like my workshop behind the chest looks all cutesy like it belongs on Pinterest...

It's easy to see the finished project and think I always know what I'm doing.  So far from the truth, but I'm learning.  For instance this time I learned that you really have to have bracing for legs if you can't add them underneath a lip to secure them to.  I also learned that the way to attach bracing is with a kreg jig (thank you woodworking forums!)  This is what it looks like and what it does:


Here's the cool way I attached the shelf:  I screwed eye hooks into the legs, rested the shelf on them, and then screwed a short screw (plus a washer to make it even shorter) through the eye hook to hold it in place.  Pretty nifty.


Once done with the construction part, I painted it Yound Kansas Wheat by Cece Caldwell, whitewashed it with Old White Annie Sloan, and wet distressed.  This combo is a great way to keep it neutral but not boring.  I finished with clear wax.
Here's the after: